Gamification for My Writing Instruction

Gamification in the writing classroom: Level Up!

I had a problem this year.
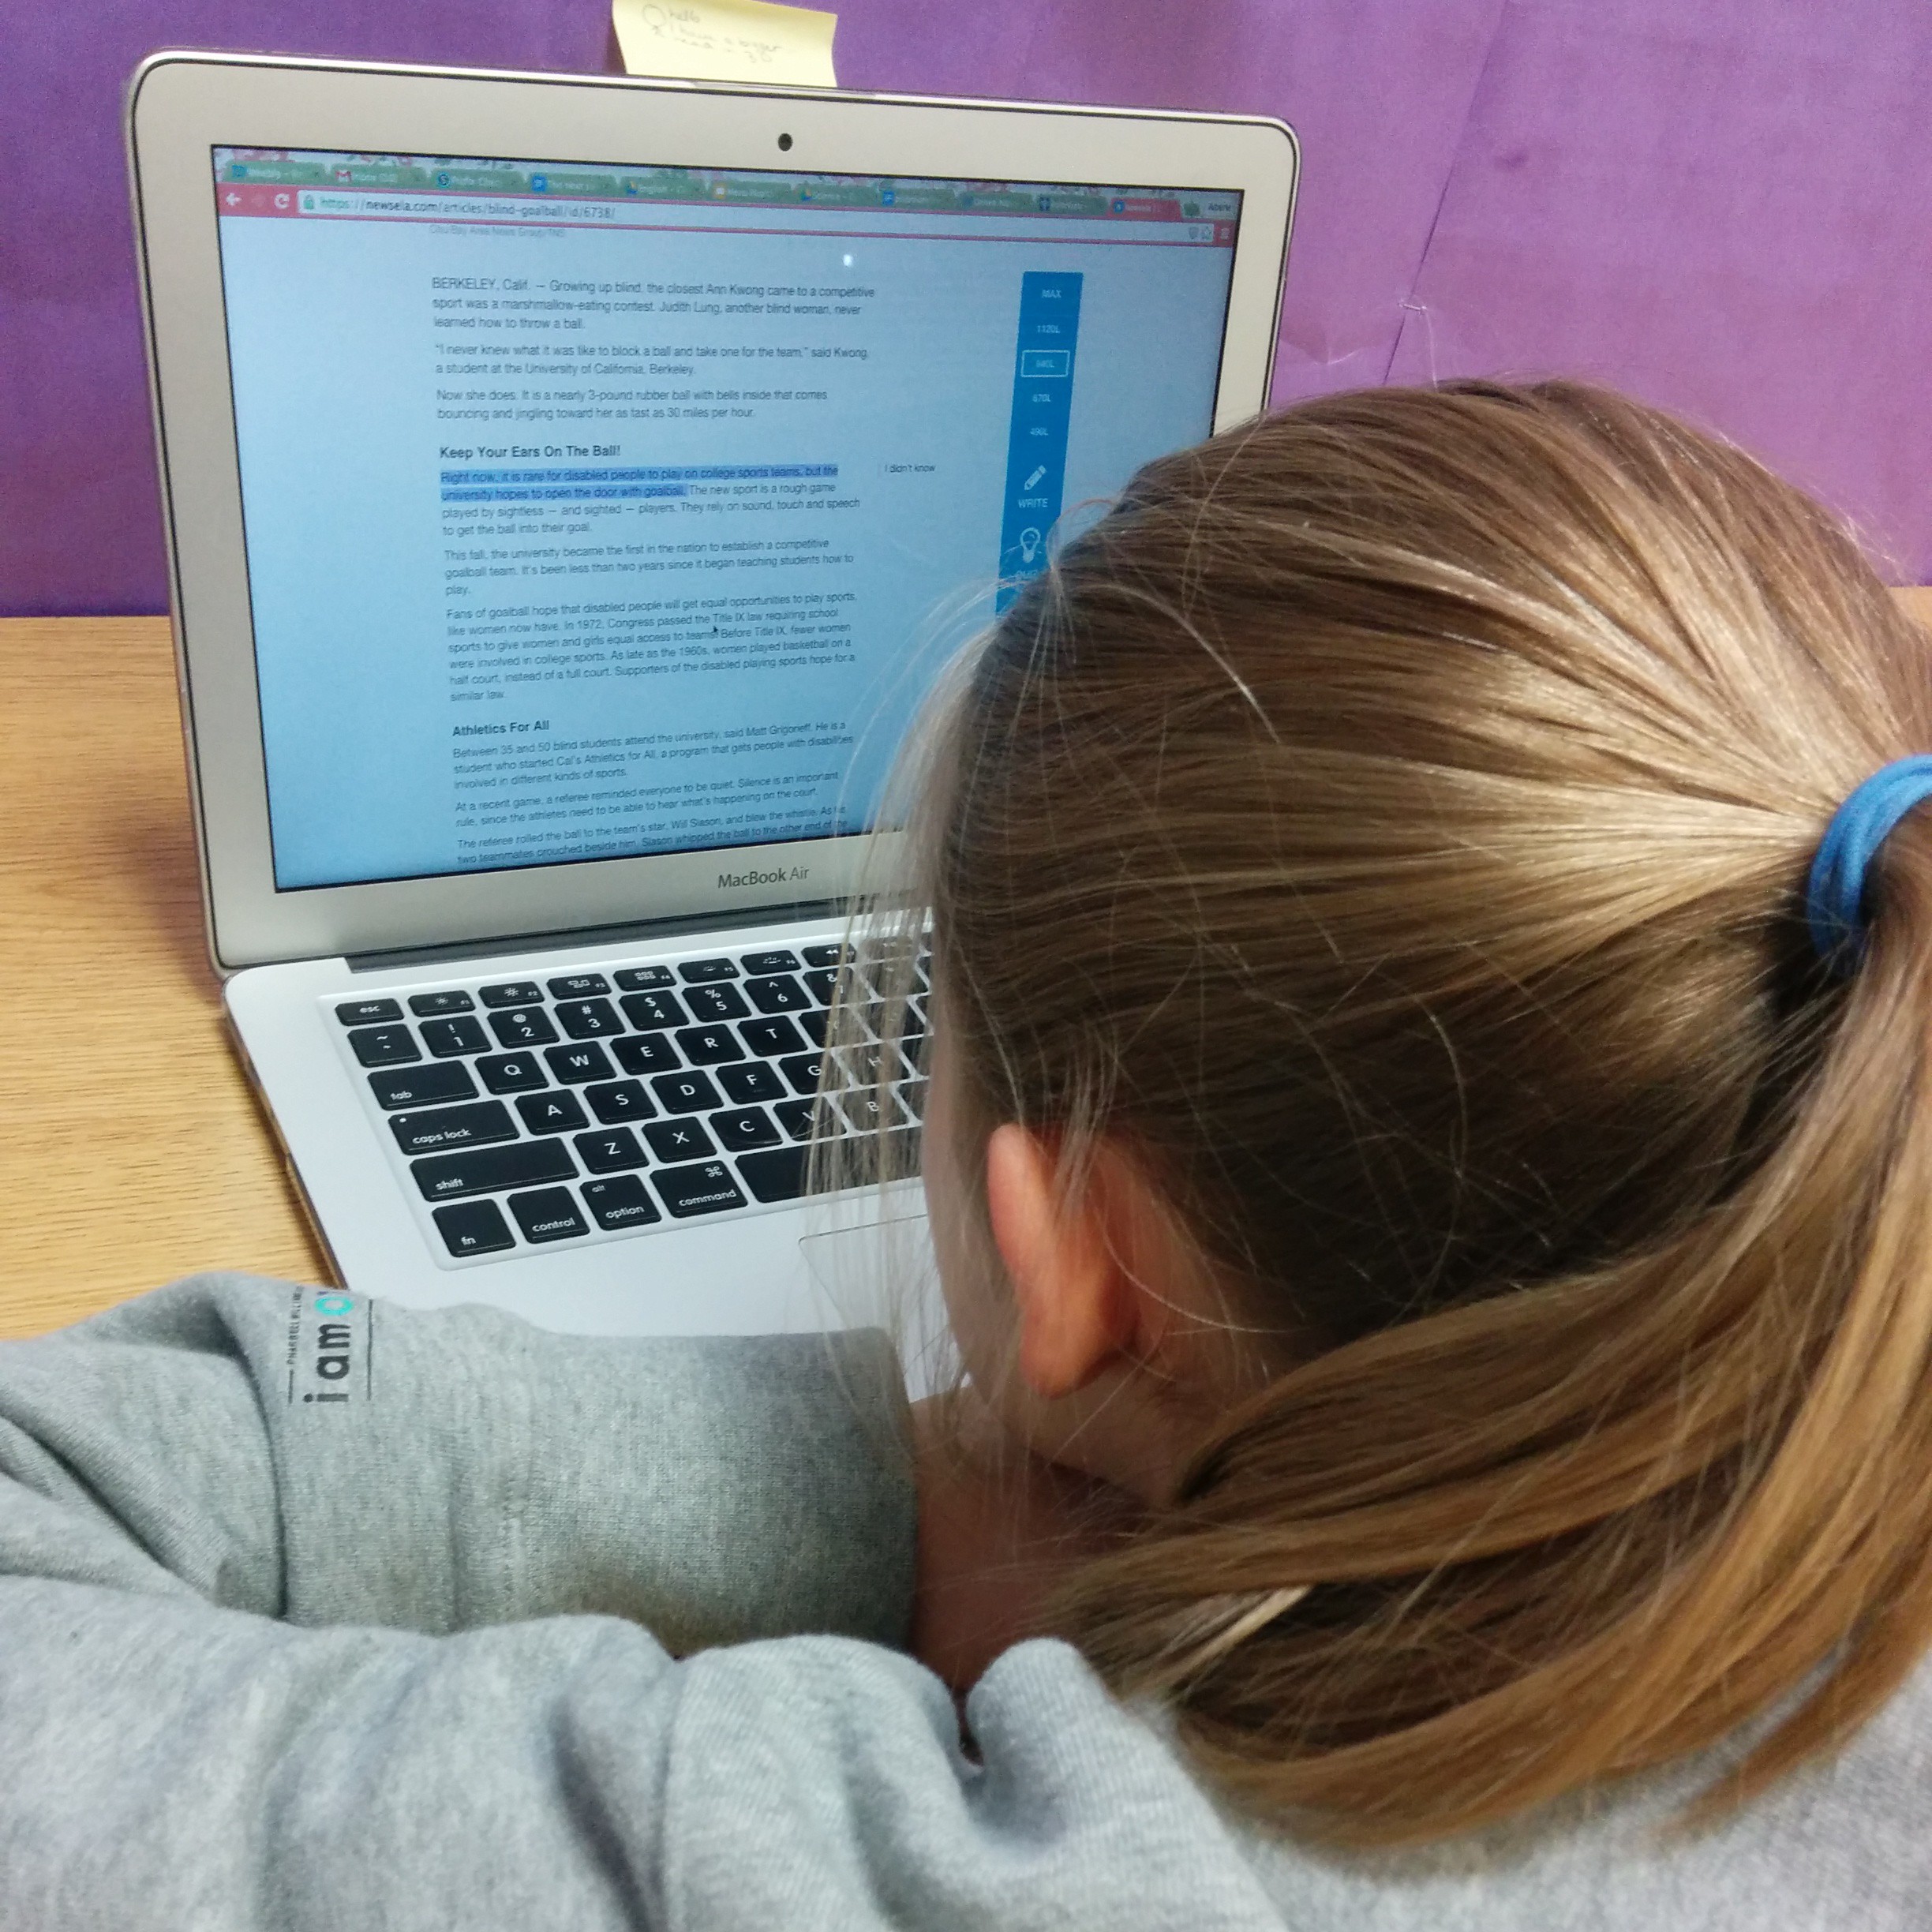
My 5th graders:

  1. Hated to write;
  2. Hated to actually follow the writing process even more than they hated to write;
  3. All had writing goals.

What’s an intervention teacher to do?

If you’ve been reading this blog, you know I’m a huge fan of SRSD for writing instruction. It’s research validated. It’s easy to transfer. It’s easy to blend into almost any curriculum. It’s scalable. What more could you want from your instructional method? The problem was, even if I was jumping up and down trying to build excitement for the genre and trying to engage them in the writing process, they wanted to just get writing over with. They hadn’t learned the value of planning, and really didn’t want slow down in order to do it. And then it clicked: Gamification and SRSD are a match made in heaven. In her book Reality is Broken (2011), Jane McGonigal defines games as having four major characteristics: a goal, rules, a feedback system, and voluntary participation. It occurred to me that I had at least two with SRSD, and could easily weave in the others.

Gamification: What I Had

Goal

McGonigal defines a goal as an outcome that players want to achieve. That goal should be specific in order to provide a purpose for the game players (p 27). SRSD involves setting personal goals, but also the teacher setting a goal for her or his based on a preassessment. We know what the outcome is, and even have models that can show us where we need to go. Goals focus players’ attention in a game (McGonigal, p 27), just like I wanted to continually refocus and reorient my students toward the ultimate goal: a well crafted piece of writing. I also wanted them to make the connection that each step of the writing process was moving us toward our final goal and each part was equally important.

Feedback System

SRSD already has an excellent feedback system. Teachers create quantified rubrics with really specific criteria for proficiency. These rubrics often focus on the final outcome, but can be about specific portions of the writing process. I had generally just used to rubric for the end product, but I realized after observing some lessons taught by my fantastic colleague and SRSD master, Pooja Patel, (seriously guys, she wrote book and runs amazing workshops–go to one!) that if I made quantified rubrics for each part of the writing process, I would be much more successful. I could give my students more frequent feedback on their work, and in the process would create a set of mini-goals (or, dare I say, quests) that the students could achieve on their way to meeting the main goal of writing a well-structured paragraph. This is how I could provide more motivation for my students, remind them that each step of the process was important, and, as McGonigal says, be a promise that the goal is achievable. Calling each step of the process a different level also helped the students to see that the end was achievable (like a progress bar).

Gamification: What I Sort Of Had

Rules

Rules, according to McGonigal, not only place limits on how players can achieve the goal, but also unleash creativity and foster strategic thinking (p 27). SRSD is meant to build strategic thinking around writing through self-monitoring and self-talk, and even though going through the writing process isn’t really a revolutionary idea, each step of the process (POWER) is clearly defined and needs to be done in order to achieve the goal. But was this really enough to, as McGonigal says, “push players to explore previously uncharted possibility spaces” (p 27)? I’m not sure. I suppose it all depends on how we define “previously uncharted.” Since my students were so reluctant to engage in the writing process, perhaps this work really did get them to previously uncharted spaces.

Gamification: What I Had to Work Out

Voluntary Participation

Voluntary participation means, basically, that everyone playing the game buy into the rules, the feedback, and the goal (McGonigal, p 27). This is really the major issue I had with my instruction. Students didn’t really buy into the rules–that planning and organizing were an important part of the process, that each step needed to be followed. And only some of them really bought into the goal. And the feedback, well, they frequently ignored it. Not because they didn’t care, and not because it wasn’t clear, but because I wasn’t catching them in the moment–the big feedback came at the end, not throughout the process.

In addition, my group had a lot of difficulty with self-regulation, both in and out of the writing classroom. Building their own self-talk and their belief that they could be successful with writing was a barrier both to their voluntary participation in writing, and to their engagement in the activities that would help them improve their writing and feel successful. It was challenging to engage them in this critical piece of the work we were doing with writing. I thought that crafting a gamified system that was motivating and visually appealing would help them engage in the process so that they could apply these self talk skills became my way to get voluntary participation. And, for the most part, it worked.

More about how it worked out in my next post.

Have you ever tried to gamify your instruction? Has gamification worked for you?

Planning for Student Centered IEP Meetings

Student centered IEP meeting prep
A student working on self-evaluating her progress toward her goals

Over the next few weeks I’m going to have parents come into my room to discuss their child’s learning plan for next year. And I’m going to turn the meeting over to the student. It’s the first time I’ve ever done student centered IEP meetings (or ILP–Individual Learning Plan–meetings as they’re called in my school). And I’m terrified. But I’m also very excited.

Step 1: Completing Digital Portfolios for the Year

I took the first step toward having students self-reflect more and take more responsibility for their own learning when I tried out digital portfolios with my M2 students this year. For me, the logical next step was to have students do a final self-reflection at the end of the year that led to them evaluating their own progress, and then helping to lead their own student centered IEP meetings. I’m also trying this with my M3 students, who, as you may remember,don’t go in for all that touchy-feely nonsense” like self-reflection and growth mindset. We’ll see how that goes.

Step 2: Self-Evaluation and Setting New Goals

After my students completed their portfolio work, they evaluated their progress on a more global level in order to prepare them to help lead their student centered IEP meetings: How do all of these examples of various skills within a broader goal to show progress? What do I still have left to learn? What’s the next step? How can I continue to improve next year?

Student centered IEP meeting goal setting
A student working on goal setting for his student centered IEP meeting

The students filled out the form below, describing their goal, choosing evidence from their portfolio to demonstrate their progress, rating their progress, explaining the rating, and then, with some guidance from me, setting a new goal.

Student-centered IEP meeting goal self-evaluation sheet
The goal reflection/self-evaluation sheet for our student-centered IEP meeting planning.

For the most part, they were able to evaluate their own progress. There were some students who were really hard on themselves. Those students needed redirection to focus on their progress as an individual, rather than comparing themselves to others. There were also some who immediately said they had met all of their goals, without evaluating their progress in their portfolios. These tended to be the same students who didn’t want to complete portfolio work when it was scheduled. Next year, I’d like to spend more time modeling how to evaluate progress toward a goal. I thought that the amount of evaluation we did when working on portfolios would be enough, but it really wasn’t.

Step 3: Evaluating Accommodations

Next, we moved on to evaluating how well accommodations worked and what new accommodations we should try for next year.

Student centered IEP meeting: evaluating accommodations
Student working on evaluating his accommodations (clearly keyboarding is one of them)

Here it became clear to me that even though I thought I had done a good job empowering my students to be advocates for their own learning, the students didn’t really understand their accommodations. When we went through them their response was often “teachers don’t really do that.” This, of course, may not be totally accurate, because a lot of these things happen behind the scenes. It was concerning, though, that the students weren’t always aware of what their accommodations were. I think next year at the beginning of the year, we’ll review the learning plans again so that students know what their accommodations are, and maybe have a few specific lessons on how to self-advocate.

Personal butlers are not IEP accommodations. Sorry.
This kid was really disappointed that a personal butler was not a possible accommodation.

I also (see above) should really spend a little more time discussing what accommodations are and aren’t. Wanting a personal butler notwithstanding, I was surprised that many students didn’t understand why they got specific accommodations. I expected to have to explain what was possible, but didn’t realized I would have to explain what their accommodations meant. I remember doing it earlier in the year. Maybe it’s a matter of revisiting throughout the year.

Step 4: Prepare for the Student-Centered IEP Meeting

Our last step was to prep for the meeting. Students completed an organizer where they decided how they might introduce themselves, their parents, and me, and how they would explain the purpose of the meeting. We talked about how much leadership each student was comfortable with taking, and decided on signals they could use if they needed me to take over. Then, each student took turns role playing their meeting.

I’m really excited by how confident and empowered my students seem while we’re going through this process. I really hope that they’ll feel successful when they complete their meetings and that next year they’ll take more ownership of their goals as we work on them. I’ll follow up soon with how these student centered IEP meetings went and what I’d like to do differently next year.

Have you ever done a student centered IEP meeting? What were your experiences?

Digital Portfolios Go To Parent-Teacher Conferences

Digital Portfolios Go to Parent-Teacher Conferences
A student’s entry into he digital portfolio showing how she’s using a specific strategy to help improve her writing.

One of my goals when I started using digital portfolios in my 6th grade class was to improve communication with parents, and though I have my students email their parents every time they add an update, I’m not sure how often they look at them. Parent-teacher conferences seemed like a great time to show off the work and reflection that my students have been doing this year, and I’ve had some of the best conferences ever because of it.

Concrete Examples of Learning

Each students’ digital portfolio contains artifacts: videos, embedded Google docs, snapshots of the learning process, student-created image slideshows that show the steps in the process up to creating a final product. We try to use all the digital tools at our disposal to document the learning process. With these, we’re able to demonstrate a student’s growth and learning in ways that just weren’t possible with traditional portfolios. The portfolios contained mostly qualitative data (although some quantitative was included, like spelling assessments), so artifacts of the learning process that aren’t final, completed projects are included. For example, students have chosen to add snapshots of anchor charts in the classroom and used these as one piece of evidence that they are starting to implement a strategy, along with a snapshot of an annotated reading passage. My favorite example is a student included a video of himself attempting (and failing) to explain his process for solving a problem (complete with the student recording it in the background saying “Dude–I don’t think guess and check is a valid strategy here”), and then explaining how he can improve in his reflection.  Not only did this provide parents with concrete examples of the learning process, they also provided a glimpse into their child’s self-reflection and growth. During the conferences, I was able to use these artifacts to discuss progress with parents and demonstrate student learning and growth.

Promoting a Growth Mindset for Students and Parents

When I talk to colleagues about trying to promote a growth mindset amongst their students, parental expectations are often a hurdle. By setting up our digital portfolios so they were a documentation of students’ growth and progress over time toward specific goals, I was able to communicate to parents the importance of perseverance, self-reflection, and positive self-talk in the learning process. Rather than the conversation focusing on what the student wasn’t doing, the conversation was focused on what they were doing and the progress that they had made, however incremental it might have been, toward their goals. That shift in conversation, I think, relates to the transparency that comes from the digital portfolio. Parents have access to artifacts of student learning, as well as what the students learned from the experience (in their own words). That’s a pretty powerful combination.

Overall, I think that the digital portfolios made for a better set of parent-teacher conferences this year, both because of what my students created and what parents were able to take from them.

How have you used your digital portfolios to facilitate communication with parents?

Student Voice and SRSD

IMG_20141217_090628

I use SRSD (Self-Regulated Strategy Development)  as my primary way of teaching writing to my students. There are a lot of reasons why I love it. It’s research validated. It connects easily to whatever type of writing instruction is happening in their classrooms–workshop models, process writing, etc.–so the skills they learn are easily transferred. It provides just the right amount of structure for students who need it, while not being constricting for students who don’t (check out the article in AMLE Magazine by Pooja Patel & Leslie Laud for more info). The best part, though, is that it’s flexible. We’ve been working on close reading for a while and I’ve asked students, as part of Sunday Cummins‘s model of close reading, to follow up their reading with a written response. Of course, I used the familiar TIDE organizer that we’ve been using all year, but the results weren’t what I had hoped.

We had done everything right. We had discussed the strategy. I worked with them to develop their background knowledge, and made connections between our work with close reading and our work with using TIDE to help us plan and organize paragraphs. We set goals. I modeled, both by looking for the parts of the paragraph in a model piece of writing and by using the active board to model writing a response. I modeled my own positive self-talk as I wrote. And I provided supports and scaffolds. Their writing still didn’t make the connections and inferences I wanted them to make, so I decided to turn it over to them. And they took me somewhere really amazing.

students creating a poster for writing about close reading

I asked them to make a poster that would teach someone else about how to write about close reading, and to use a metaphor to do it (an idea I got from Pete Hall at the BTCFS workshop). Writing about close reading, they said, was like an iceberg. Above the water, they said, is the main idea, supported by the “pasta words” (what Cummins calls the important details). Under the water, they told me, was the synthesis–the conclusions they draw that can’t be found directly in the text. After they made their iceberg, they added images to help them. A boat called the S.S. Annotation to remind them to use what they had written on the text to help them identify the pasta words and to remind them to use their “I wonder…” annotations to help them make connections and draw conclusions. They also added an airplane (with flaming jet engines, of course), where they wrote what makes a good main idea. They added post-its to explain all of the parts, and then explained their new strategy to a colleague of mine from the ELL department who happened to be walking by the classroom.

Using SRSD with close reading

The next class when we went to work on writing, it was a huge change. They had ownership of the type of writing I was asking them to do, and of the strategy I had asked them to employ. When we went through the modeling and practice, and the results were so much better than the first time. All because they took over defining the parts of the text themselves. They had the background knowledge, I just needed to find a way to empower them make the connections between the two topics that would help them take ownership of their writing.

close reading & SRSD


They really came up with something great.

How do you empower your students to make connections and take ownership of their learning?

Leveraging 1:1 Laptops for Assistive Tech

Leveraging 1:1 Laptops for Assistive Tech

Assistive tech is a huge topic. We can find all sorts of solutions for students: “no-tech”, low-tech, or high-tech, ranging from free to prohibitively expensive. The best assistive tech tools, though, are the ones that students can transition with and that will lead to independence. In special education and intervention, our goals are almost always transfer and independence. When we start leveraging the technology and resources that are already in a student’s possession, we can encourage that transfer. I’ve found a number of tools that have worked well for my students (generally students with mild to moderate LD) that are either built-in accessibility features or free apps or plug-ins. So far they’ve been working really well for us. These are a few of the tools we’ve been using for reading and writing. In a future post I’ll talk about some organizational tools and some other accessibility features and apps.

(Note: These are just things that are currently working in my classroom. I’m getting no compensation of any kind from any of these programs. I’m just sharing what’s working of my students and for me right now)

Assistive Tech for Reading

There are two different options we’ve been using for text-to-speech in order to assist students who have reading difficulties. One is a Chrome plug-in called SpeakIt, and the other is just the accessibility feature found in Acrobat Reader.

Speak It

SpeakIt is a Chrome extension that reads text on websites, including within Google Drive. It’s free and easy to use. Students can easily customize the reading voice, which includes options that are much more natural sounding and more fluid than the ones available through the accessibility features within Chrome. It is also available as an iOS app as well. Students have really enjoyed using this app to help them access more difficult texts on websites that have been assigned for class reading, when doing research online, and, I think the best application we’ve found, to have their written work read back to them in Google Docs. This is actually a use that was discovered by a student. We had been talking about how important it is to read your own writing. Realizing that he often missed his own mistakes, this student decided that he would use the extension to have his computer read his writing to him, and then used what he heard to correct commonly confused words and other spelling and usage errors. It was pretty amazing. The one limitation of this extension is that it doesn’t read PDFs that are embedded into websites (like those on our school’s LMS), so those need to be downloaded and read to the student using Adobe Reader.

Acrobat Reader

The other program students have been using, Acrobat Reader, has accessibility features that will read the text of a PDF document (as long as it hasn’t been uploaded using a scanner or camera to PDF app). Students can have an entire document read to them, or select particular sections the voice is definitely not as natural sounding as the voices in SpeakIt, but it works. The only issue I can see is with reading academic texts. For example, one of my students used the text-to-speech function to help him read a textbook entry about the beginnings of Islam. The program had more than a little difficulty with non-English words, but the 7th grader I was working with had enough background knowledge from class to figure out that the pronunciations weren’t correct. It’s not as good as using a program like Kurzweil or Read & Write Gold, but it’s free and a great way to test out if this type of assistive tech will be useful for a student.

Assistive Tech for Writing

My students generally have pretty good keyboarding skills, and we’ve done a lot of work on organization and planning this year, but they really struggle with editing their own work, particularly when it comes to commonly confused words. While text-to-speech is quite helpful for many of them, speech-to-text is a bit too much support. As a group, my students have been very excited by the Chrome extension, Ginger.

Ginger

Ginger is not your typical spell checker. It looks for commonly confused words (like homophones or words with very similar spellings), and even makes suggestions for comma usage and grammar. It is a Chrome extension and can also be downloaded as a keyboard app for Android and iOS, as well as desktop version that integrates with Word. Unfortunately for us, it’s only available for PC in that form. I’ve found it to work much better than the spell-check that is integrated into Chrome. It has the option to correct one word in the sentence, the entire sentence, or ignore the suggestions. AND I can tell Ginger that, yes, my last name (or other words that I use frequently that spell-checkers don’t recognize, like “metacognitive” or “multisyllabic”) is indeed spelled correctly. And it will remember. Which is not just amazing for me, but also for my students who are from around the world and often have names that aren’t recognized by spell-check (and, being middle schoolers, are often offended by this). I also like that it highlights possible errors in blue, rather than with a red underline, which seems to make my kids anxious (especially if they experience a lot of difficulty with spelling). It’s not perfect, but I’ve found its suggestions to be much better than most. It’s great for when we’re working on our digital portfolios in Weebly. What’s not great is that it doesn’t seem to work within Google Drive. Students can copy and paste their text into a Ginger window, but most of my students aren’t going to take that step (mostly because they’re worried that they’ll accidentally delete the entire thing). I would love it even more if we could integrate it with one of the word processing programs (Word or Docs) that we already use.

What programs to you use to assist your students with reading and writing?

Reading Voice vs Thinking Voice

Reading Voice vs Thinking Voice anchor chart
Reading Voice and Thinking Voice Anchor Chart (note: sometimes we misspell things and our students find it hilarious. Seriously. These kids have pointed it out to every adult who walks into the room. Of course, now I’m putting it on the internet.)

I’ve been working a lot with my 6th graders on close reading for the past few months. We’ve been previewing, reading, annotating, rereading, synthesizing. Or, at least trying. Some of my students took to the approach right away, surprising me with how much they really got that we reread to understand more deeply and annotate to document our thinking or point out specific ideas. But others just thought it was a waste of their time. For these kids, reading wasn’t necessarily about making meaning, it was about getting things done.

Getting to the end.

Getting the questions answered.

Getting on to the next thing.

Getting it all done, so I can do something better.

This is a mindset that reading teachers struggle to change. There are definitely things that help–increasing independent reading time, helping students to choose reading material that they’ll really love, high-interest texts for instruction, authentic tasks–but when you’ve tried all of those and your students who just run a little too fast and are speeding their way through things, having a discussion about reading voice vs thinking voice can be very helpful.

I first encountered the idea of explicitly teaching about reading voice vs thinking voice, was when I read Cris Tovani’s book I Read It But I Don’t Get It very early in my career (probably my first year). This book is an amazing resource for anyone who teaches striving readings in middle or high school. In grad school, we always talked about self-monitoring and using fix-up strategies as one of the keys to strong reading comprehension, but the tools  I left with were pretty limited (I am a bit worried this is still the case now that I’m teaching the class, but I’m working on it!). Really, I had one. It was called “The Critter” and it came from one of the course texts from my first semester practicum. It involved drawing an odd looking creature that the students would use to personify their thinking voices. I’m sure you can imagine how this strategy goes over with most middle schoolers. I’ve used and modified Cris Tovani’s lesson over and over again and I’ve had a lot of success with it.

The biggest thing that hooks kids is that I talk about a strategy that I really do use in real life. I can explain, quite vividly, how it works for me. When I’m reading I know that I’m not paying attention if the only thing I hear is my Reading Voice–the words going by in my head with no questions or connections popping up, I’m not engaged in reading and I’m not comprehending. But, if I’m making too many connections… You know how that goes: one connection leads to another and soon I’m thinking about what I’m going to eat for dinner later, or that one time I went to the beach in North Carolina…I’m not reading at all anymore. Well, my eyes are moving along the page, but the only voice I hear is my thinking voice. But, when my reading voice and thinking voice work together, that’s when you’re a reader who is actively engaged in comprehending a text.

After discussing and modeling, I ask students to add post-its to the anchor chart with examples of their reading voices and thinking voices to the anchor chart using post-its. I prompt them to add more information after they’ve done a few sessions of independent reading. It’s amazing what they begin to notice. I’m hoping we can keep revisiting this strategy, especially for my students who would really rather that reading was over with as soon as possible.

How do you teach self-monitoring and other metacognitive skills when you teach reading?

Getting Started with Digital Portfolios

Front page of one of our digital portfolios
The front page of one student’s digital portfolio.

This year I’m piloting digital portfolios with my M2 (grade 6) class. I noticed last year that there wasn’t a lot of communication between the Learning Support program and parents. There aren’t really grades, and there’s the occasional email, but more often than not, no work goes home. Most of the work that parents do see are the results scaffolding and specialized graphic organizers, and other supplements and complements to classroom instruction. Last year, in my first year in the position, with the help of my principal we added more transparency by creating learning plans for students that contained goals for the skills that would be addressed during the school year (I know, for those of you in public schools this is SOP, but it something that seems to be slowly becoming a part of international schools). I thought this was great, but I wanted to do more. Then I got connected to Matt Renwick through Twitter and his blog, and started reading his book Digital Student Portfolios. I decided to create digital portfolios that were primarily designed to show growth, but that could be used to showcase certain pieces of work or activities that students were particularly proud of. I wanted to use digital portfolios as an opportunity to create a dialogue with students and parents about growth, and to continue to build a culture of self-reflection for learning in my classroom.

The first challenge I faced was finding the right platform to use to create the digital portfolios. My school has a pretty strict “no use of 13 and over programs and apps by students under 13” policy, so Evernote, the platform Matt discusses in his book, was out. The school’s Tech Integrator and I discussed  Google Sites, Blogger (both part of our school’s Google Apps for Education subscription) or Weebly. I ended up dismissing Blogger because I wouldn’t be able to house several blogs on the same page, and I knew that teaching students how to effectively use tags would take a while. After making two sample portfolios, one in Weebly and one in Google Sites, I decided that Weebly would work best for my purposes and be easiest for the students to use.  So far, I would recommend this as a platform.

Benefits

  • Weebly is really easy to use. It’s uses a drag and drop system to add pictures, buttons, URLs, and HTML code. I even taught my students how to embed Google Docs in their Weebly blogs (something I had thought would be easier with Google Sites).
  • Not having the easy-embed function from Google Sites led to a mini-lesson on HTML, which the students seemed to enjoy.
  • The school’s educator account provides some measure of privacy and security for students. Their sites are password protected.
  • If students forget passwords, etc they are all managed by our Instructional Technology department.
  • It’s easy for students to personalize and make their own.
  • It’s easy to share with parents and for them to navigate.
  • Creating individual blogs for each goal allows us easily see progress on individual goals, and the most recent activity (that, I hope, represents the students’ current progress toward the goal) is at the top of the page.
  • The blog format allows me, their classroom teachers, their parents, and, if they choose, their peers, to comment on the work that they share and ask questions about it.

Drawbacks

  • Weebly is extremely customizable, which is a good thing. I want students to take ownership of their portfolios I had to get through a few classes of students playing around with the design of their website, which was OK, but often what they thought of as a “good design” made their message difficult to understand. I think the next time I do this, I need to spend a bit more time on the front end integrating instruction on how design can influence the audience’s ability to understand our message, maybe using specific websites (possibly even my own) as examples.
  • Although there is a way for the student and I to be co-owners of a Weebly site, the Tech Integrator and I haven’t been able to make it work yet. This is something that would have been much easier with Google Sites or with Blogger, but I think the ease of use more than makes up for this.
  • The one blog per goal set up makes it more difficult to use tags to see connections between assignments and activities that match up to multiple goals.
  • Next year, I need to do a better job reviewing the difference between personal online communication and professional online communication (particularly editing one’s work before posting it online–see the spelling error above).

Overall, I have been completely blown away by all the things that I could do with a digital portfolio that I wouldn’t have been able to do with a traditional portfolio. I had just assumed that a digital portfolio would be a substitution for a physical portfolio or it would be an augmentation, adding some functional improvement, but not significantly different from the physical version. I am, however, starting to see that digital portfolios are really modifications of traditional portfolios, allowing my students, their parents, and me to do things that weren’t possible with the original paper format. I’m excited to continue our work and I’ll keep you updated as I keep working with the students on building their portfolios.

Have you used digital portfolios? What have been your successes? Learning experiences?